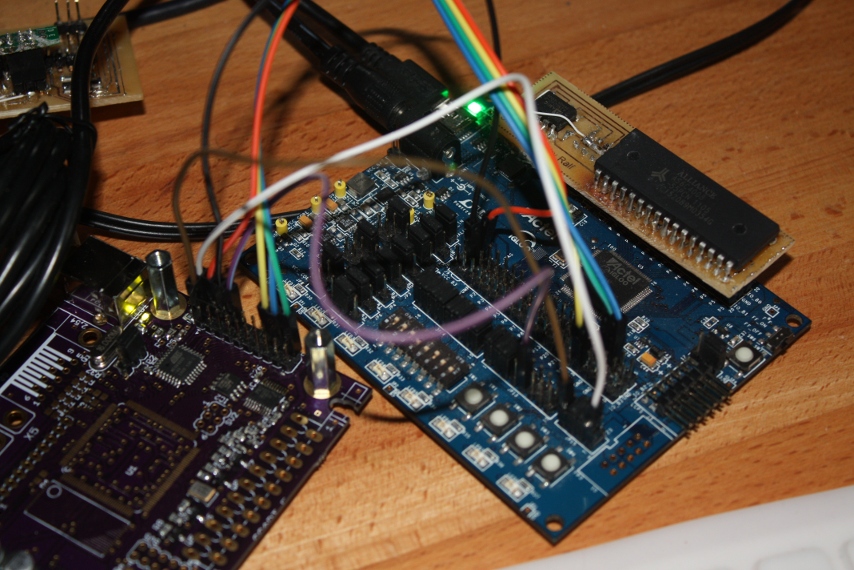
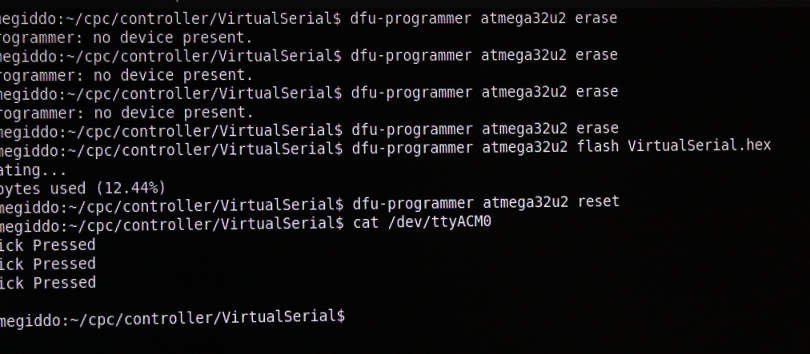
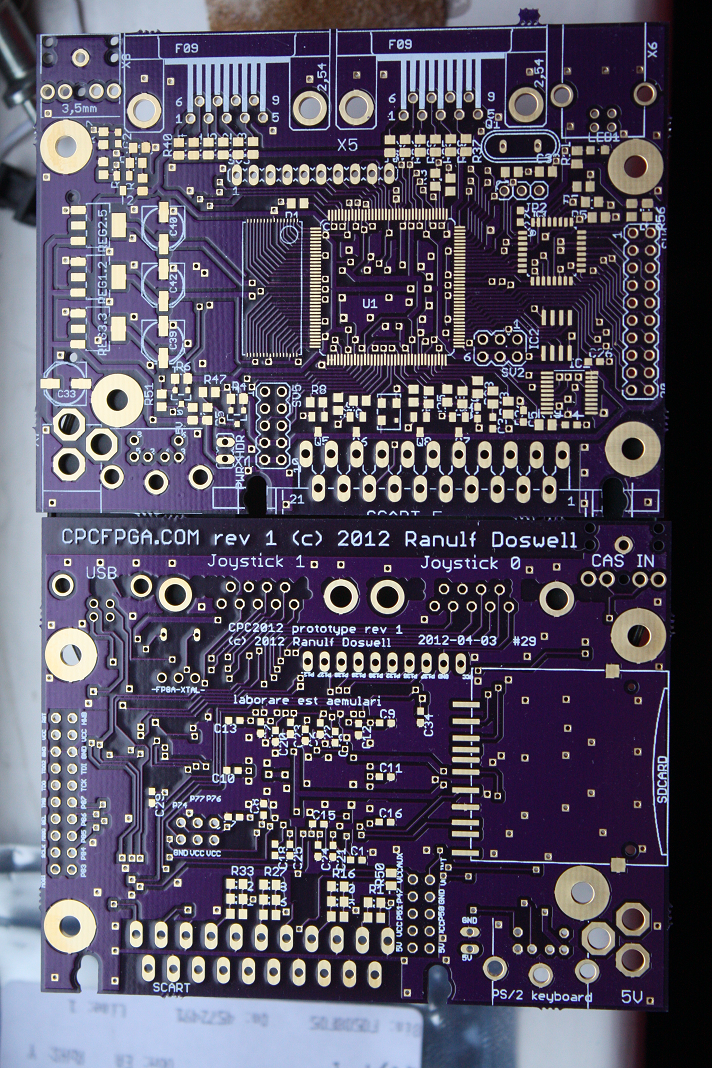
So, a bit of background. Whilst the "real" work of emulating the Amstrad is all on the FPGA, you might have noticed a couple of extra chips. Basically, I wanted to have a nice interface to the PC so that I can expose serial ports, reprogram the FPGA, etc. To that end, I'm using the Atmega32U2 chip which has a few IO lines and a USB port built in. Best of all, it has 32KB of flash space so you can actually do quite a lot with it.
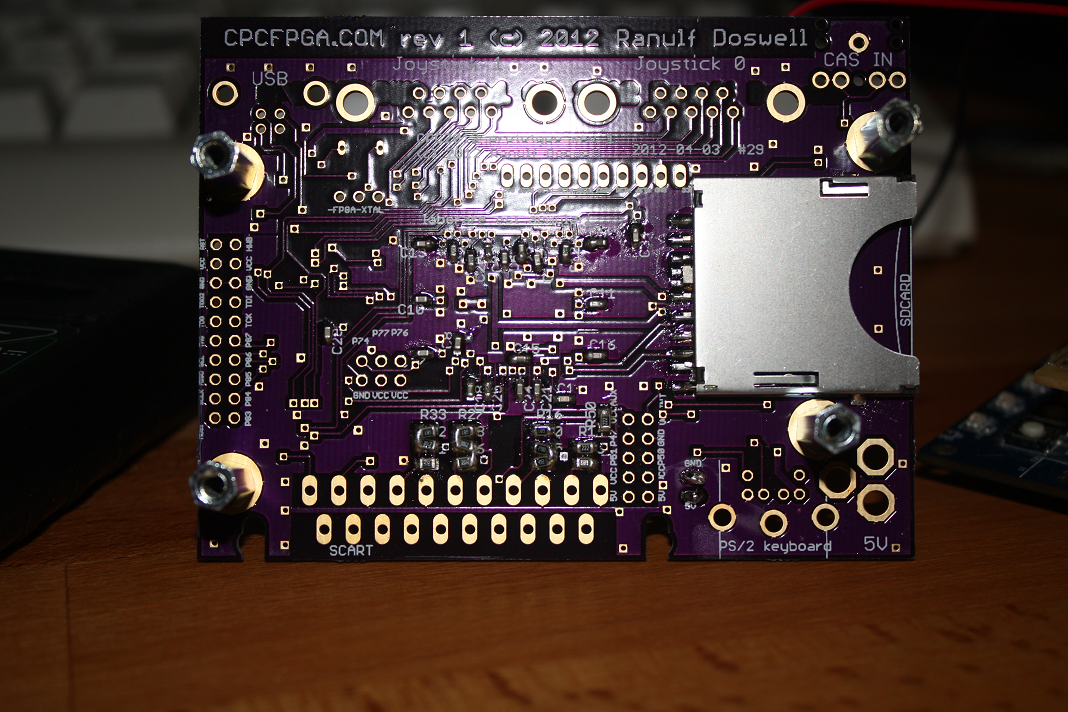
I've soldered up most of the board apart the FPGA and the RAM because I wanted to test the board in stages, and the first stage is to get my JTAG PROM programmer up and running before hooking up the FPGA. And I hit a snag... it seems either I did something stupid while trying to flash the first time or my chip was shipped write-protected. I'm not sure how I could have done this myself as it requires deliberate effort to write protect the fuses (I think), but it seems crazy for the part to be not write enabled, so I guess I must have somehow. Annoyingly, I've used this same chip before and never had a problem.
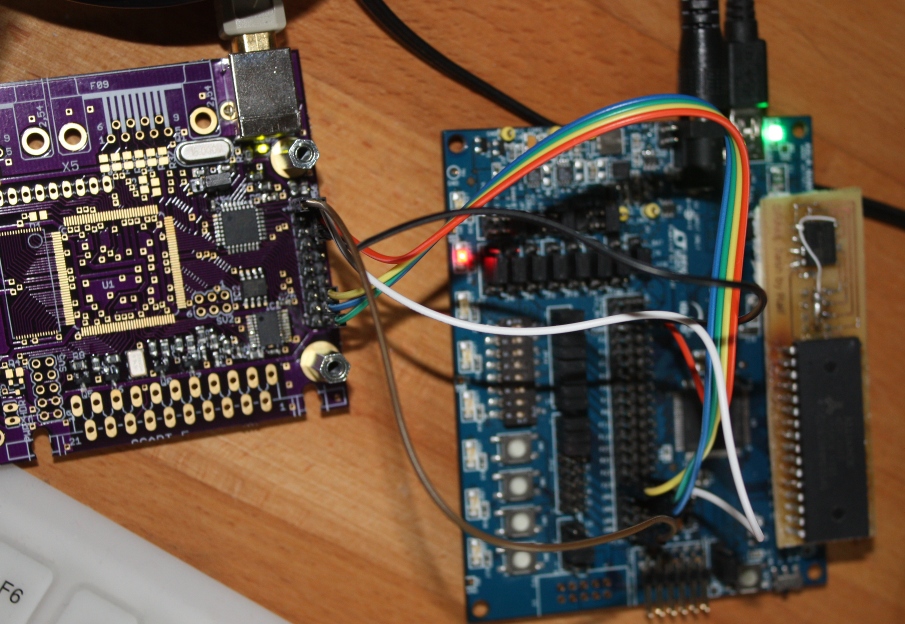
So, I guess I'm doing this the hard way... If I need to knock together a serial programmer for the Atmega before I can get round to making the FPGA programmer run on the Atmega, I might as well keep things real by using my prototype board to do the bit-bashing (also, I don't have a handy 3.3V IO board knocking around anyway!) and so my goal of developing this entirely self-hosting is still kind of fulfilled with some Z80 code running on the previous revision of the board, uploaded using the old SREC method:
Still, I suspect I won't even have the Atmega programmed before Tunk and J turn up this evening... :(